Become a Changemaker with 2025 BowSeat True Blue Fellowship for Young Ocean Advocates

Become a Changemaker with 2025 BowSeat True Blue Fellowship for Young Ocean Advocates. Are you a young leader passionate about ...
Read more
Understanding Work Hour Limits for International Students While Studying Overseas

Understanding Work Hour Limits for International Students While Studying Overseas. Let’s be honest — studying abroad isn’t cheap. Between tuition, ...
Read more
A Golden Chance for Aspiring Leaders With John Thompson MBA 2026 Scholarship
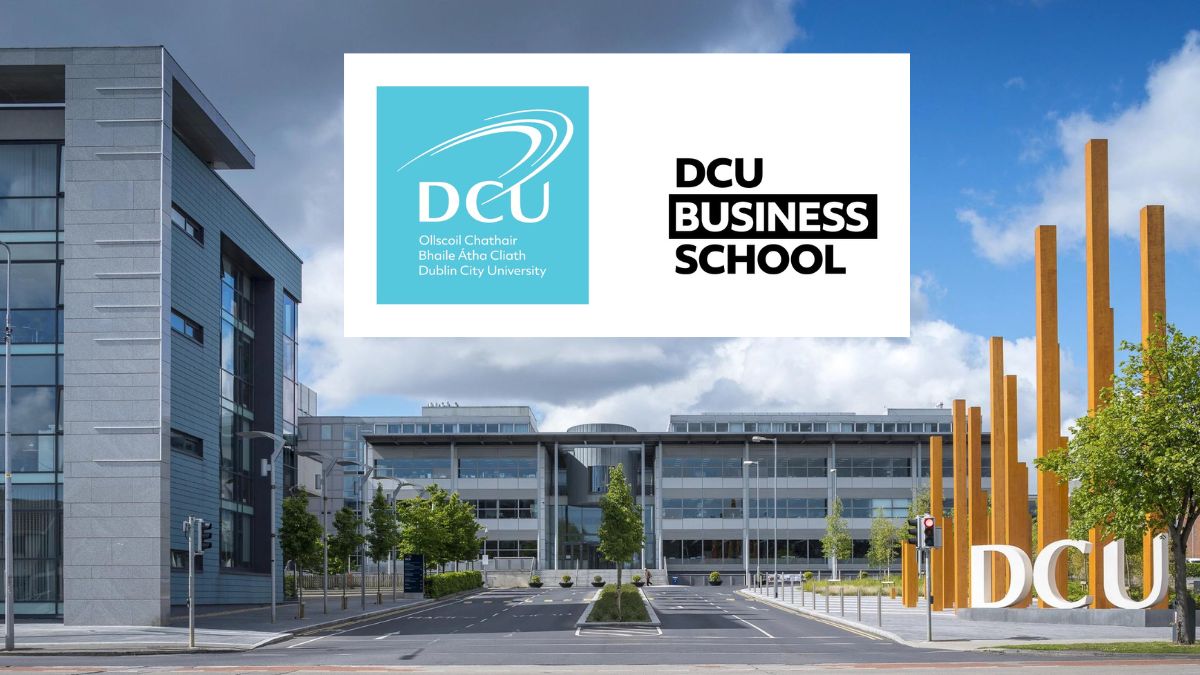
A Golden Chance for Aspiring Leaders With John Thompson MBA 2026 Scholarship – at Dublin City University, Ireland. Are you ...
Read more
How to Craft a Standout CV and Cover Letter as an International Student in 2025

How to Craft a Standout CV and Cover Letter as an International Student in 2025? Let’s be honest—studying abroad doesn’t ...
Read more
How to Find Student Jobs Overseas Even If You Have No Work Experience

How to Find Student Jobs Overseas Even If You Have No Work Experience? Studying abroad is an incredible experience—but it ...
Read more
2025 Student Guide on The Best Part Time Jobs You Can Get While Studying Overseas

2025 Student Guide on The Best Part Time Jobs You Can Get While Studying Overseas. Studying abroad opens doors to ...
Read more
Apply Now For A 2026 Fully Funded Slovak Government Scholarship for Bachelor and Master Students

Apply Now For A 2026 Fully Funded Slovak Government Scholarship for Bachelor and Master Students. Dreaming of earning a degree ...
Read more
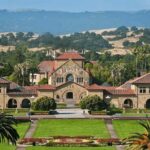
Apply for the 2026 Stanford Knight Hennessy Fully Funded Scholarship for International Students
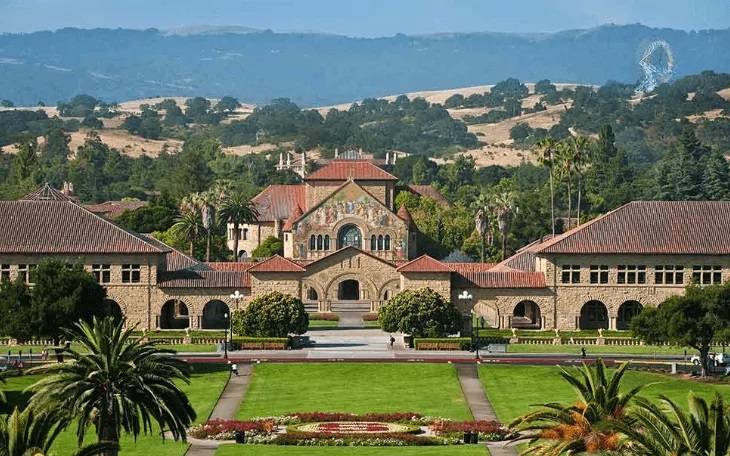
Apply for the 2026 Stanford Knight Hennessy Fully Funded Scholarship for International Students. Dreaming of earning a graduate degree from ...
Read more
Avoid These 10 Job Search Pitfalls as an International Student Abroad

Avoid These 10 Job Search Pitfalls as an International Student Abroad. For international students, searching for a job in a ...
Read more
Apply Now For A Life Changing Experience With A Fully Funded US Professional Fellows Program Exchange 2026

Apply Now For A Life Changing Experience With A Fully Funded US Professional Fellows Program Exchange 2026. Are you an ...
Read more